Open Settings: Go to the "Settings" app on your iPhone's home screen. It's the gear-shaped icon.
Navigate to Accessibility: In the Settings menu, scroll down and tap on "Accessibility." This is where you'll find various accessibility-related options.
Access Guided Access: Inside the Accessibility menu, scroll down to find "Guided Access." Tap on it to access the Guided Access settings.
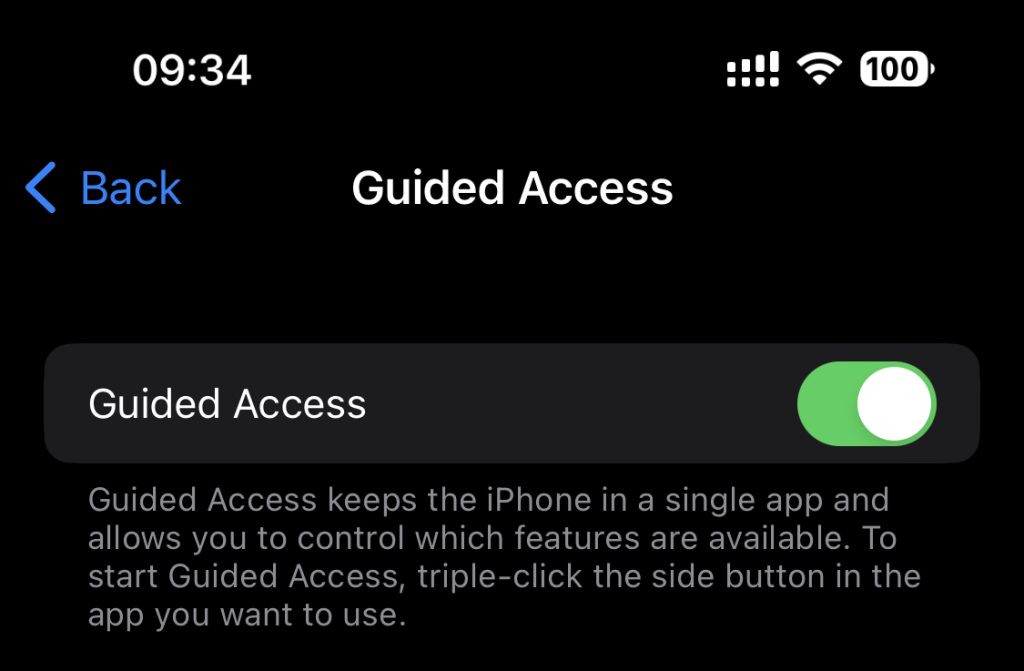
Turn on Guided Access: On the Guided Access screen, toggle the switch at the top to enable Guided Access. It will turn green once enabled.
Set a Passcode (optional): To prevent someone else from exiting Guided Access, you can set a passcode. Tap on "Set Passcode" and enter a passcode of your choice. Make sure it's something you can remember or securely note it down.
Start Guided Access: Now, go to the app you want to use in Guided Access mode. Triple-press the side button (on iPhone models with Face ID) or the home button (on iPhone models with Touch ID) to open the Guided Access settings.
Configure Guided Access Options: In the Guided Access settings, you can circle areas on the screen you want to disable or set specific options for the session. You can also adjust the time limit for the session if needed.
Start Guided Access: After configuring the options, tap "Start" in the top-right corner to begin the Guided Access session.
Exit Guided Access: To exit Guided Access mode and return to the normal iPhone mode, triple-press the side button or the home button (depending on your iPhone model). Enter the passcode you set earlier, if applicable, and you will exit Guided Access.